Table of Content
Mix in about 1/4 tsp of pigment at a time, stirring the mixture quickly as you add the pigment to ensure that it’s well blended. Alternatively, you can melt the lipsticks together in a double-boiler instead of a microwave. Consider adding about 1 tsp of beeswax or petroleum jelly for every 4 inches of lipstick used, as doing so will add a moisturizing effect to the lipstick. A popular DIY lipstick is made by melting crayons into coconut oil. Although crayons are non-toxic, Crayola has warned against using crayons on the lips.

Do not use oil pastels or other professional art supplies, since these are not regulated in the same way as children's crayons. Are you excited to try your hand at making your own lipstick? You probably already have the ingredients you need at home. Making lipstick yourself cuts down on makeup costs and allows you to create a rainbow of custom colors that you'll never see another person wearing.
Using Mineral Pigments
Doing this can help keep the color evenly distributed once it’s blended with the oil and wax. The synthetic lipsticks we apply on daily basis are accidentally licked into mouths and needless to say that the chemicals-induced lipsticks aren’t safe to be eaten. So, today I’m going to share with you the recipe to make all-natural DIY Lipstick at home devoid of toxins, chemicals, and preservatives. Take out the ingredients from the stove and briskly stir in a few drops of your choice’s essential oil for a touch of fragrance and nourishment.

Crayons have not been tested for regular long-term use on the lips, and are thus not considered 100% safe. Making your own lipstick is a great way to ensure that you know what’s in your makeup. It also lets you make custom colors suited perfectly to your skin tone. You can find most of the materials to make your own lipstick at craft and health food stores.
Using Natural Materials
You can use anything from cocoa powder for a nude shade to beetroot powder for a deep red. You can also add some shine to this recipe if you want to create your own glitter lipstick. Next, add the castor oil and the lavender essential oil.
Even you can easily carry while travelling in your bag. Pour the lipstick into a tin or tube and allow it to cool. Using a small knife or spoon, transfer the lipstick to a small container with a lid. Beeswax is commonly found in cosmetics and skincare products and is a fantastic way to moisturize the skin. It can help protect and repair dry, rough, or chapped skin because it can lock in moisture. Inorganic/mineral pigments (e.g. oxides and micas) generally last longer than organic (e.g. plant material) ones, but they are not as vibrant.
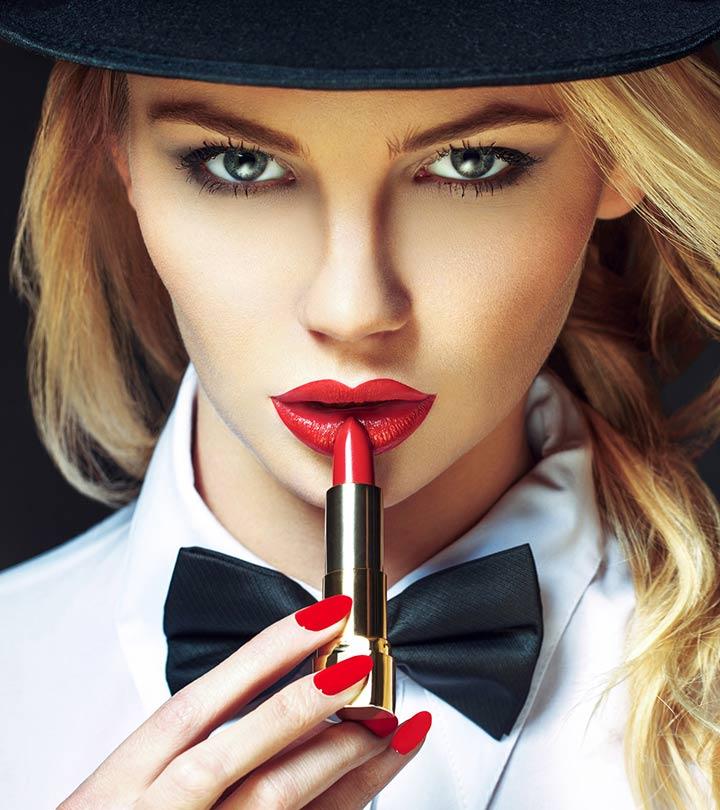
Ingredients for DIY Lipstick
Depending on the size of your moulds, lip balm holders, and bars, you should be able to make at least four sticks and several small jars from this recipe. Crayola says not to use crayons as lipstick because it may be contaminated. It also did not go through testing like makeup.
Be aware that the ingredients may be very hot when removed from the microwave or double boiler. A few drops of essential oil help mask the smell of the crayon. Try rose, peppermint, lavender, or another type of essential oil.
Your all-natural DIY Lipstick is ready to adorn your lush lips. Why don’t you make your favorite lipstick at home? Lipstick is the most loved makeup for ladies. But today, these makeups are in multiple brands, stores and are spread in a quite vast market. Now, you want to buy a trendy lip-shade, but your purse isn’t allowing!
Next, gently place the lipstick holder over the bullet-style lipstick and press down very gently — just enough to make contact with the base of the lipstick. Just how much of each pigment you use will depend on how rich you want your color to be. Two to three teaspoons should be enough, but you can always add a bit more or less to get the color richness that you desire. Add vanilla extract or another flavoring to make your lipstick taste good. If you want it to heal lips add a little bit of aloe vera gel. Turmeric can be mixed with other powders to make the shade more coppery.
You can choose oils like peppermint, lavender, lemongrass, or cinnamon. In a tiny glass bowl, add the powdered pigment and a teaspoon of Vaseline. Add more pigment depending on the color you want and mix them thoroughly. The ingredients in this lipstick recipe are skin-friendly, but if you experience any allergic reactions, stop using right away. If you have an extreme reaction, contact a medical practitioner right away.

As there is also a simple solution to it. Vegan-friendly alternatives to such pigments include anthocyanins , beetroot, and lycopene. Note that carmine and some other red pigments are derived from cochineal insects such as beetles. If you’re making lipstick as gifts or to sell, wear gloves. That way, you won’t contaminate the lipstick with any bacteria that might be on your hands. Allow the mixture-filled moulds to cool in the refrigerator for 1 hour.
Then, you would just take out small amounts of base as you needed them. For example, to make 1 lipstick you would melt 9g of the lipstick base and add 1/4 tsp of pigment before pouring the mixture into a tube, jar, or mould. If you feel any kind of changes in texture or smell then don't use it, make a new batch of homemade lipstick. Pour the mixture into moulds, pots or lip balm tubes. This will ensure that the finished bullet-style lipsticks don’t stick to the mould when you remove them. The beauty of this method is that you can make beautiful, brightly colored lipstick in just about any shade of the rainbow.
If you’re vegan or allergic to bees, candelilla wax is a good substitute for beeswax. You should be able to find this at most health food stores, but it is also easily accessible online. Gently lift the lipstick tube as you twist the holder back into the tube. The holder should attach to the bullet-style lipstick and bring it back into the tube with it.
Stir in a little less than 1 tsp with the melted wax until the ingredients are completely combined. Use an old lipstick or chapstick tube, a small cosmetics pot, or any other container with a lid. After carefully pouring the hot liquid into the containers, put them in the refrigerator to let the lipstick harden. Use an old lipstick or chapstick tube, a cosmetics pot, or any other container with a lid.


No comments:
Post a Comment